Complete viewing required: every step is crucial to obtain results
Chlorine Free / Total / Combined
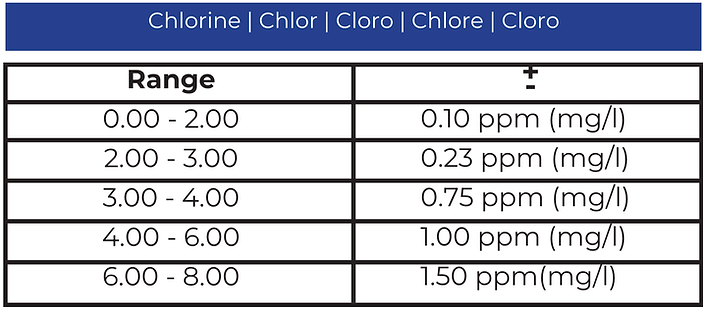
Tablet Mode: 0.00 – 6.00 ppm (mg/l), Use Tablet Reagents DPD N°1 + DPD N°3
Liquid Mode: 0.00 – 4.00 ppm (mg/l), Use Reagents DPD1A + DPD1B+DPD3C. If you use liquid reagents, switch from Tablet Mode to Liquid Mode. Watch how to do it here.
8-CL
Step-1
• Make sure the measuring chambers are clean beforehand.
• Rinse them with the water you are going to test.
• Turn on the Water Tester using the power button.

Measuring chamber
Power button
Step-2
• Use the special syringe to add 10 ml of water to each of the three measuring chambers.
OR
- Fill the cuvette directly from the water source you are testing.
- Insert the Water Leveler into the chamber.
- Excess water will drain via side channels, leaving exactly 10 ml in each chamber.
Special syringe or Water Leveler


Step-3
• Cover the measuring chamber with the light protection cap.
• Press the ZERO button.
Light protection cap
ZERO button

ZERO
Step-4
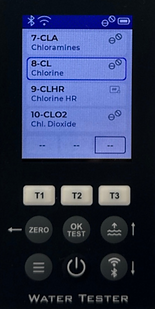
• Press the T3 button to go to the selection menu for the test parameters.
The T1/T2/T3 button functions:
– Single click: add a parameter.
– Double quick click: remove a parameter.
– Long press (count to three): open the parameter list.

Step-5
-
Use the up and down buttons to select the desired parameter for measurement.
Up and down buttons

Step-6
• After selecting the desired parameter, click the OK button to confirm your selection.
OK button
Step-7
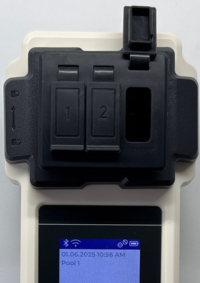
• Add the reagent to the chamber you are going to perform the test in.
• Squeeze the pressed tablet directly into the chamber, in this case, into chamber №3.
Do not touch the tablet with your hands!
Add 1 tablet of DPD N°1
or

Add 3 drops of DPD1A + 3 drops of DPD1B
*Liquid Mode must
be active.
Step-8
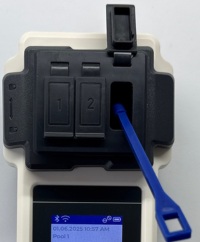
• Using a special stirring stick, first crush the pressed reagent tablet, and then stir until it is completely dissolved.
Special stirring stick
Step-9
• Cover the measuring chamber with the light protection cap.
• Press the T3 button to start the countdown.
Light protection cap
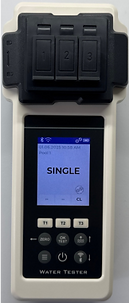
T3 button
Step-10
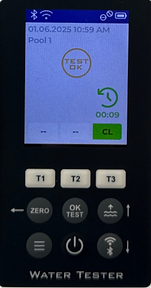
• Press the OK button, wait until the countdown ends and the test results appear.
Result Chlorine Free
OK button
Step-11
• Add the reagent to the chamber you are going to perform the test in.
• Squeeze the pressed tablet directly into the chamber, in this case, into chamber №3.
Do not touch the tablet with your hands!
Add 1 tablet of DPD N°3
or

Add 3 drops of
DPD3C

Step-12
• Using a special stirring stick, first crush the pressed reagent tablet, and then stir until it is completely dissolved.
Special stirring stick

Step-13
• Cover the measuring chamber with the light protection cap.
• Press the T3 button to start the countdown.
Light protection cap
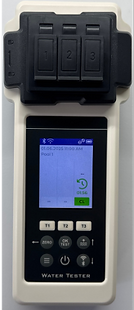
T3 button
Step-14
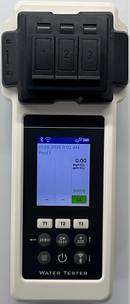
• Wait until the countdown ends and the test results appear.
Result Chlorine Total
T3 button
Step-14
• Now you have the result of Chlorine Total!
• Press the T3 button and you will receive Combined Chlorine !
T3 button

If you want to upload the test results to the cloud, press the Back button (which also functions as Zero). The word “Test” will appear on the screen — then press the Bluetooth/Wi-Fi button.
Test result is outside the range of this method. OR results can be brought into measurement range by dilution. Use syringe to take only 5 ml sample water plus 5 ml distilled water. Test again and multiply results times 2.
